画像編集で特定の色のみを変色する
~色相・彩度の活用~
今回の記事は、Photoshopを用いた画像編集で特定の色のみを変色する方法について解説をします。
画像内にある特定の物の色を変更したい。
このような時に、Photoshopには変色をできる機能が備わっています。
~手順~
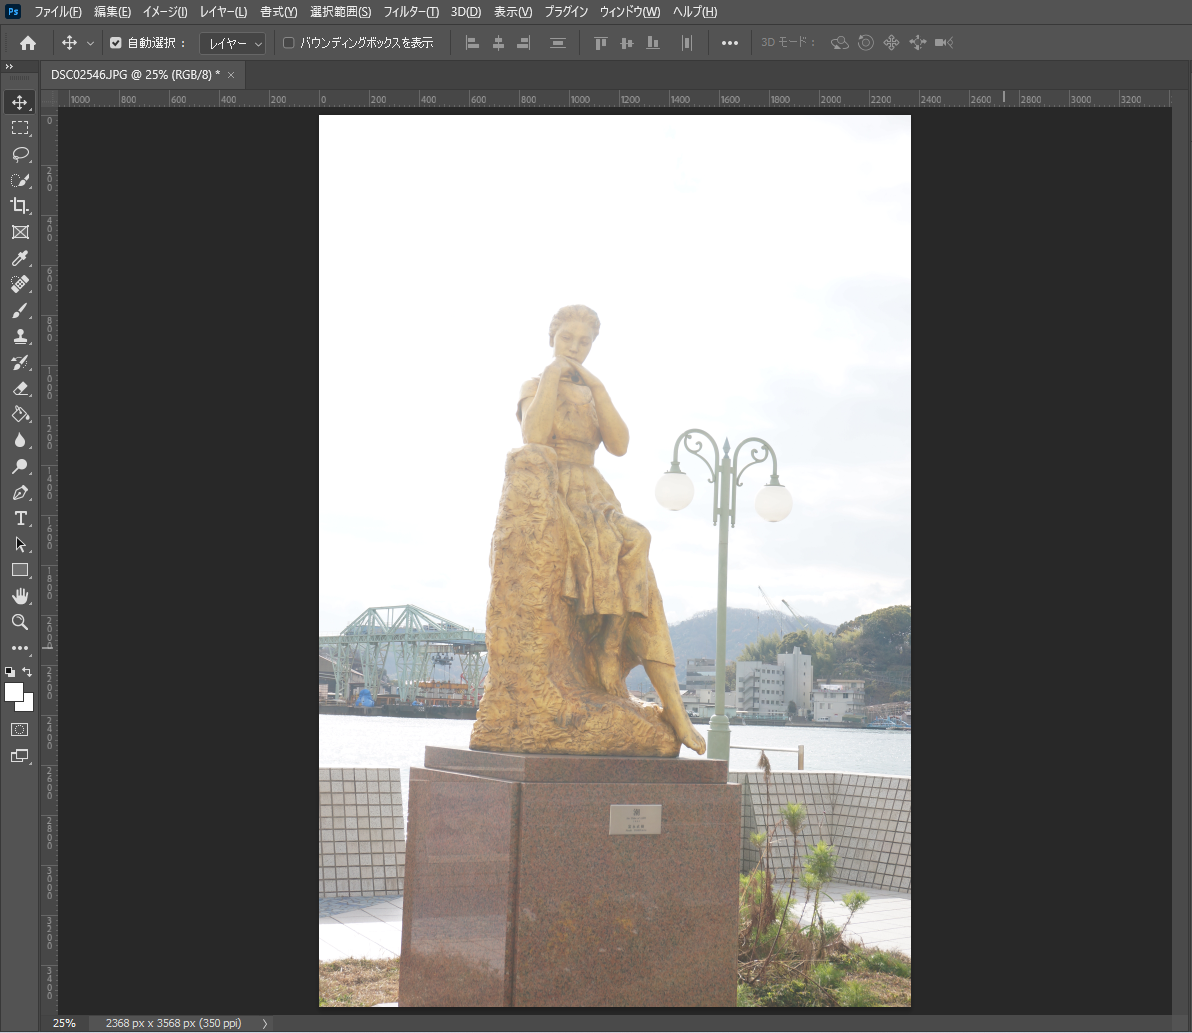
①Photoshopを起動し、画像を開きます。
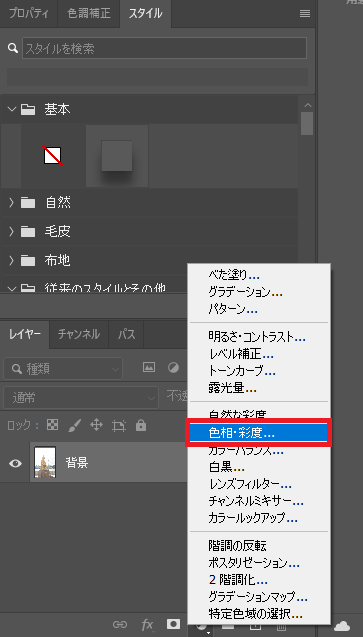
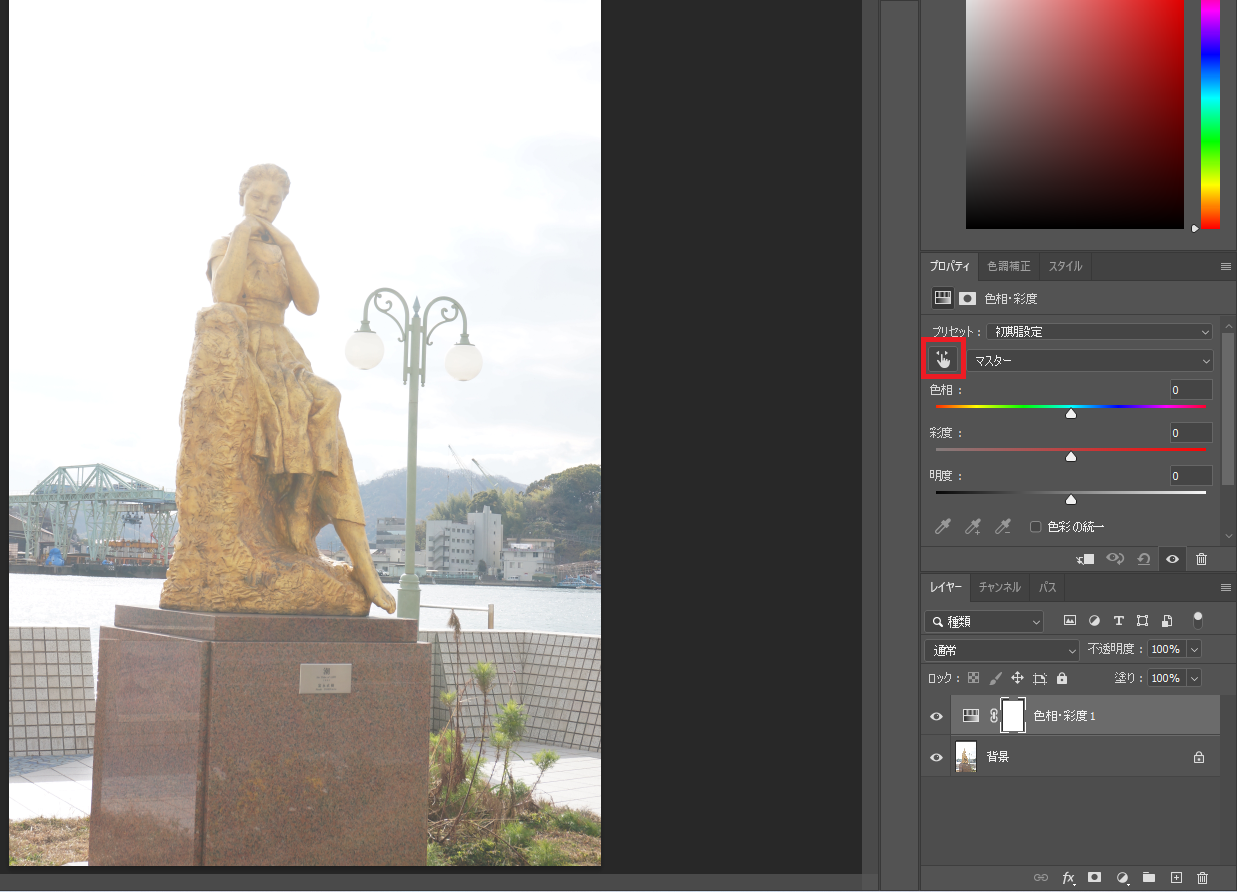
②色彩・彩度を選択します。
③プロパティより指のアイコンを選択します。
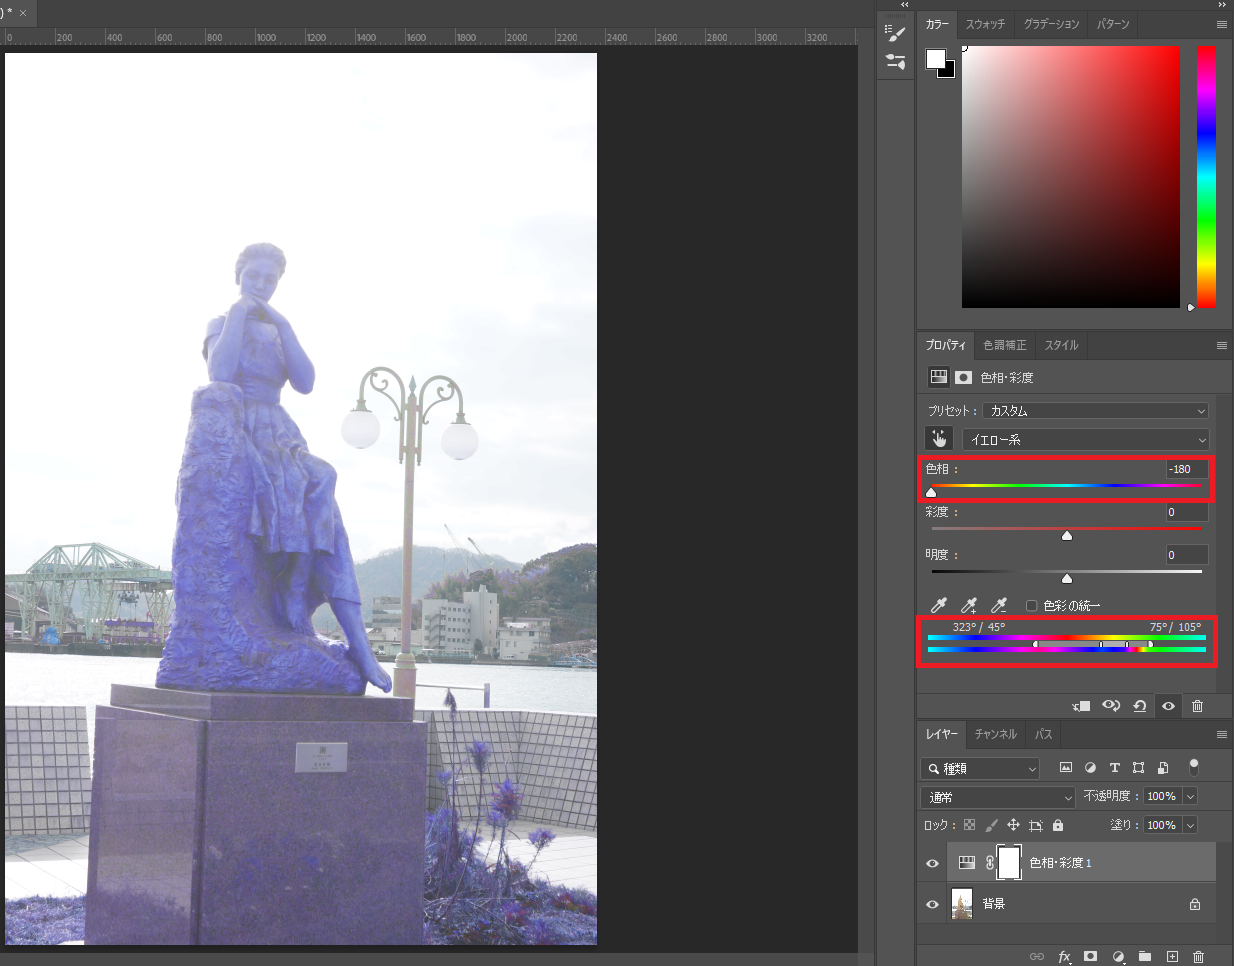
④変色したい色(ここでは像)をスポイトで選択し、選択範囲の調整を行いながら色相のバーを変更します。
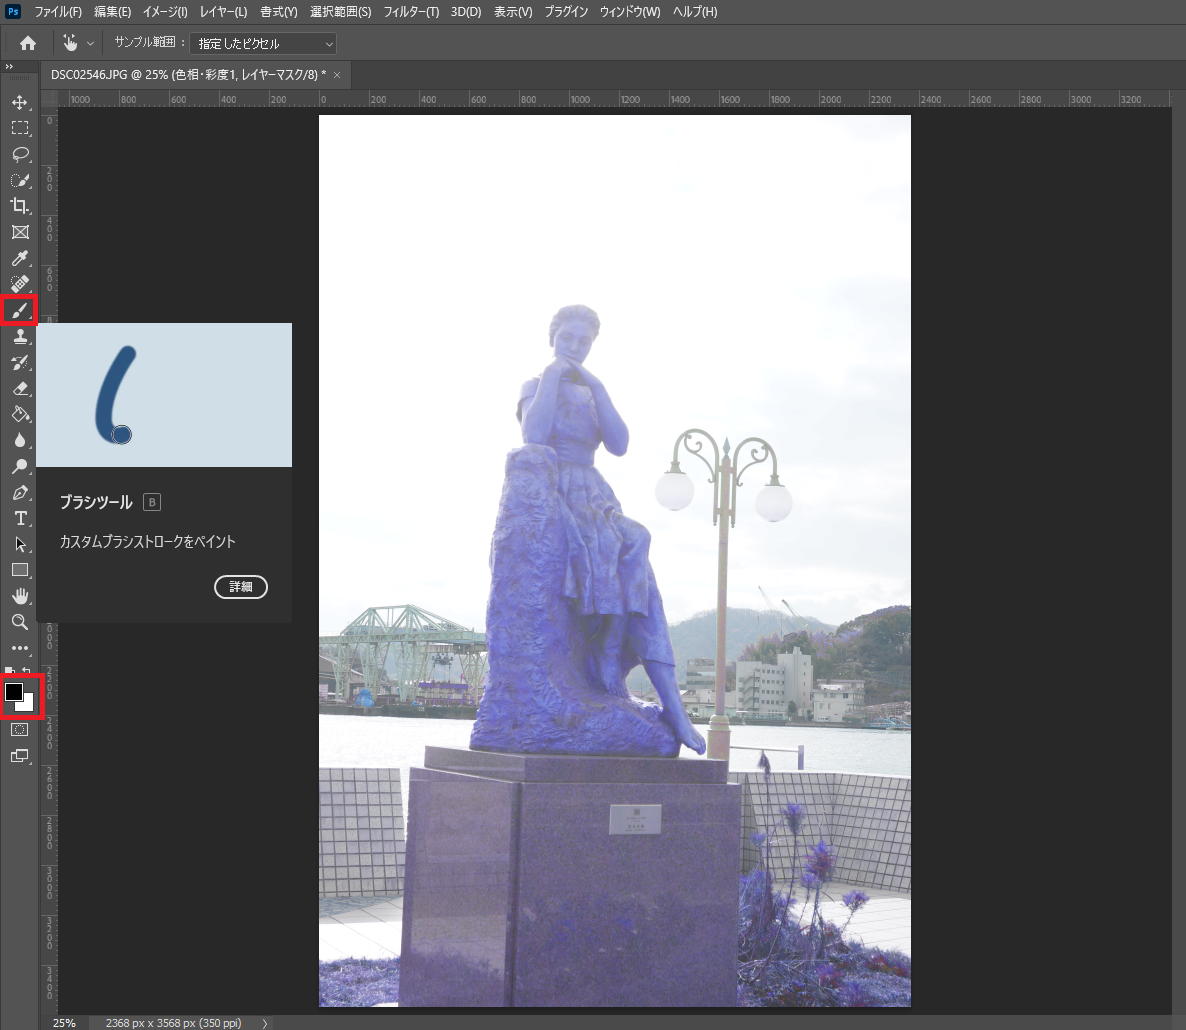
⑤像以外の箇所にも変色が適用されている状態なので、ブラシツールを選択し、色を黒として変色が不要な箇所を塗りつぶしていきます。
↓完成画像
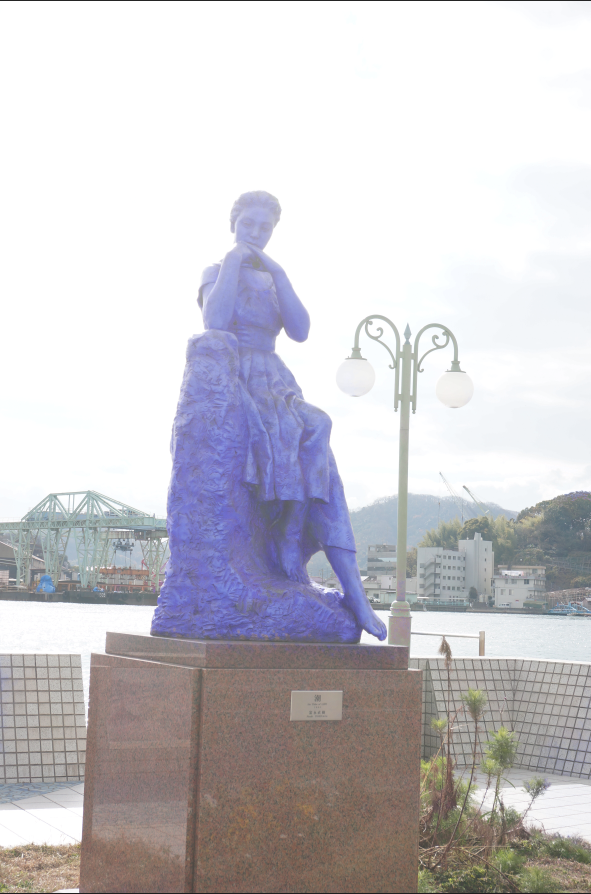
特定の物を好きな色へと変色することができます。ぜひご活用ください。
今回の記事は以上となります。ご覧いただきありがとうございました。
リンク
リンク